Toying with antiques can be a perplexing topic. With antiques being so delicate and brittle, it is easy to end up causing permanent damage to your piece while trying to restore it. And getting them fixed professionally may not be for everyone, as professional restorers are few and may cost an arm and a leg in most cases.
But restoration is sometimes necessary, as your antique trunk may become unpresentable and nonfunctional over time. So if you’re thinking of restoring it yourself and don’t have much practice with it, fret not, as we’re here to help!
First of all, make a mindmap of tools and stuff that’s wrong with the trunk. This way, you’ll know what to be focused on and what parts need the most help. Now, to tackle your various problems, let’s dive right into this guide.
Table of Contents
1. Clean the Trunk
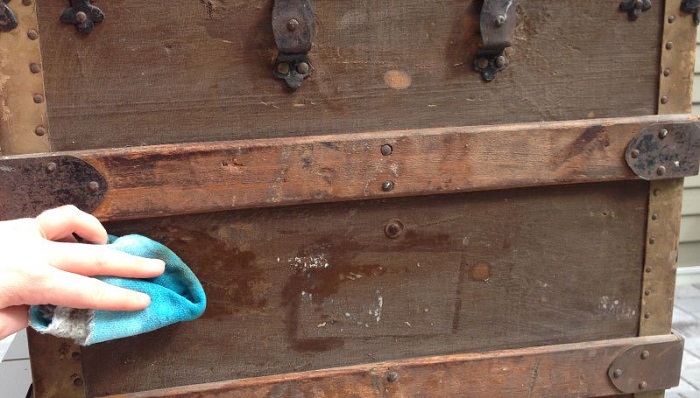
The first step of any antique restoration is to clean the trunk thoroughly, to remove years and years’ worth of dust and mud. Cleaning antiques is a very delicate process. You must not use any chemicals or modern-day dirt removers as these have a high tendency to damage the wood or leather of your trunk.
Then you may ask, what do you use to clean such antiques? The answer is quite simple, good old dish soap and warm water. The dish soap will help soften any stubborn dust patches, and warm water will aid in removing them. This process, however, may take a long while and will include lots of long hours and elbow grease, but it is the most thorough method and is worth it in the end.
However, for those of you who don’t have time on your side, you can also use a high-pressure cleaner with water. This will clean much better and remove all built-up dust and dirt. However, it may cause damage to your trunk as it is harsher.
Next, let’s talk about drying. What’s the perfect way to dry your antique after scrubbing it? Leave it outdoors, preferably in the shade, to ensure the color of your trunk won’t fade. It would also be better to do this on a sunny warm day. By drying it on a warm day, there won’t be any mold or animals crawling inside, which could happen if it were left to dry indoors.
2. Remove Worn or Damaged Pieces

Now that your trunk is nice and clean, there’s a good chance that you can see all the damaged, worn-out, unsustainable pieces. And that’s what you’ll have to remove next. Any wood with water damage, woodlice or other insect infestation pieces, moldy bits and pieces, and any withering leather must all go.
To do this, however, you will need to disassemble your trunk. This may be a tricky process. You must remove all nuts and bolts carefully and place them out of the falling distance of your trunk, as you don’t want to drill holes into your vintage wood accidentally. You must remove them one by one.
You can keep or discard the bolts depending on their condition. If they seem brittle or rusted, your best bet would be to discard them and buy new ones; otherwise, you should be pretty good to go. Also, remove any belts, leather pieces, clasps, and straps.
3. Remove Metal Oxide from The Hardware
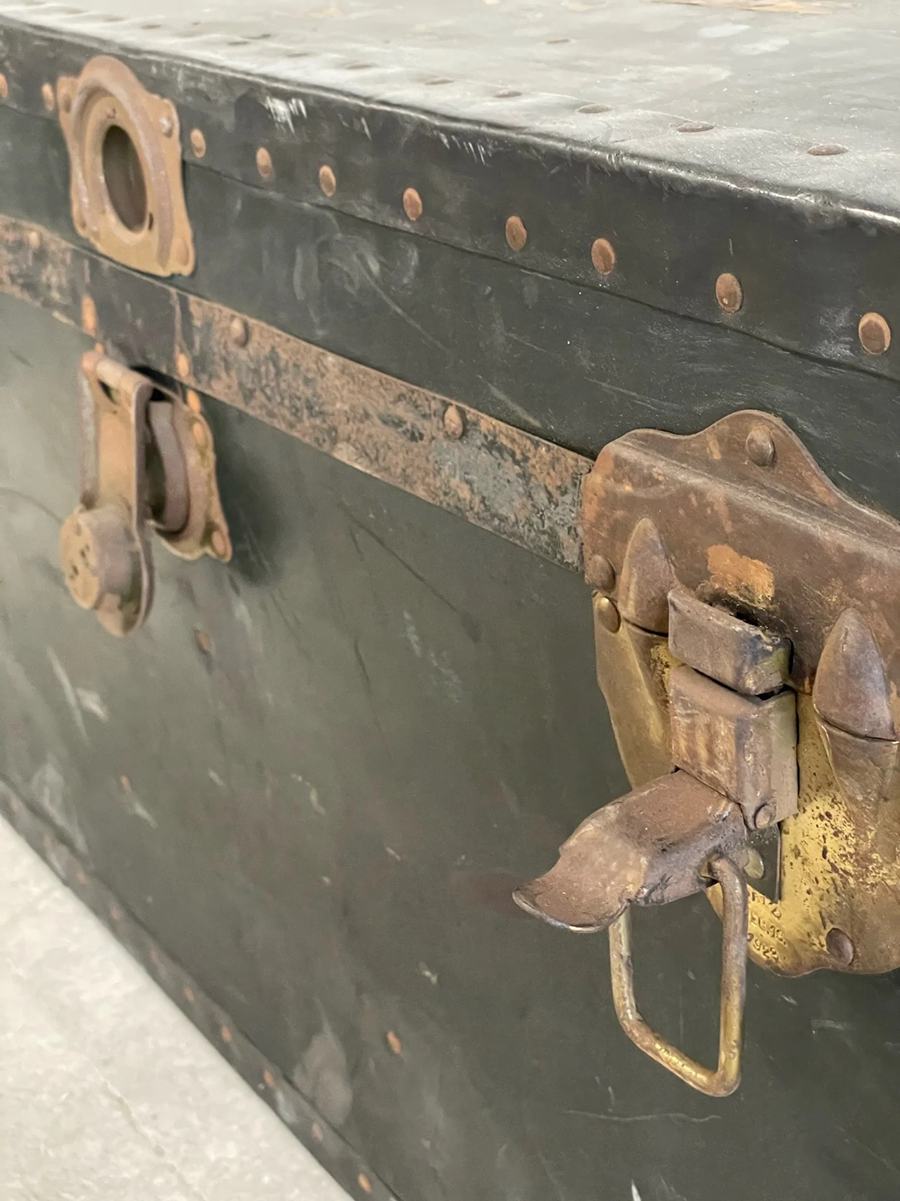
Metal, over time, tends to wear down. This means it rusts, becomes brittle, and is prone to breaking. To solve this problem, you must remove the metal oxide.
This can be done quickly by attaching a wire brush to a drill and buffing the hardware with a gentle hand. Make sure only to remove the top layer. This will remove all the rust and corrosion and restore the metal’s shine, making it look brand new.
An advantage of using a drill bit is that it gets into all the tiny crevices, restoring the metal piece completely. However, you have to be careful while using the drill brush; if you use too much pressure and push down even a little too hard, you may thin your piece out, making it brittle and delicate, in which case you might end up having to replace these pieces.
4. Repair and Wood Filling

The next step in restoring your timeless piece is restoring the wooden parts. For this, you must first remove the canvas. This is a relatively easy job as flour mixed with water to form a pasty dough was used as glue in the olden days. If you are getting stuck somewhere, leave a wet cloth or sponge over the area, and it should soften right up.
To remove the fabric, cut it using a pair of scissors. Make sure to cut as close to the metal framing as possible; this way, much of your material can be retained and reused. Pay close attention to the corners, as this is where fabric tends to rip or tear from. It may help to use a smaller pair of scissors or a screwdriver to remove fabric from corners.
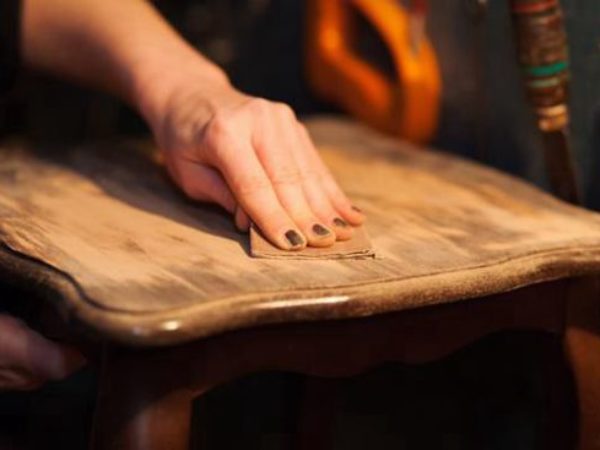
5. Sand the Trunk
Your next job will be to sand the trunk down. This must be done in steps, gradually using a coarser grit to a finer one. We recommend starting with 50 or 60-grit sandpaper and moving towards finer grits until you reach somewhere around 220 or 300-grit sandpaper.
For the paper areas, you may want to start with a finer grit of around 180 or 220 even to begin with. However, you must do this with care; if you sand through a layer, you will have to sand it down completely. Also, proceed with caution when going over the paper tacks, as you want to keep your antique trunk’s basic frame and structure intact.
Make sure to remember the inside of your trunk. Sand it down properly to remove any damage or unevenness. This will create a smooth interior or base if you wish to insert a fabric inside. For the best installation, cut your fabric into five pieces that measure the same as the inside and attach them using fabric glue and a stapler.
You must do this after restoring the hardware because if you try to fix the metal bits afterward, it will ruin your sand. And this way, you can go over the hardware, smoothing it out. This will give your antique a better and much sleeker feel to it.
6. Wood Staining the Trunk
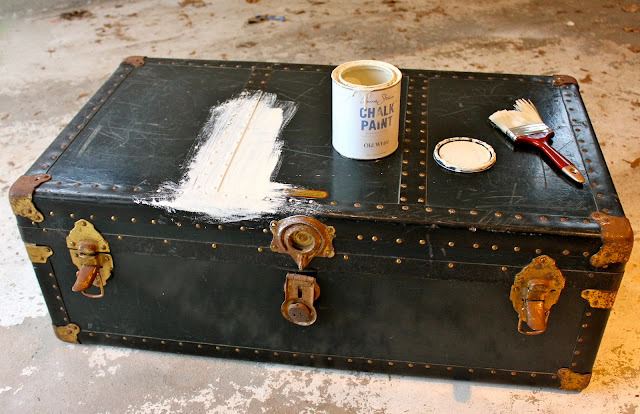
The next step in the restoration of your antique trunk is wood staining or painting it. Cover the hardware with masking tape and make sure to cover the handles as well. You can either choose the original color or the color of your liking. Generally, wood staining is preferred as it retains the antique look, and paint is avoided.
Use a wide flat brush for the wood staining. Approximately three layers of a wood stain are normally used to cover up an antique with two or three layers of beeswax or enamel on top. This makes the trunk nice and shiny and protects it from any erosion. Varnish is often used as the outermost coat.
However, make sure to let it dry out overnight to ensure it gets dried completely. After it is dried, ensure you buff it out using wool buff.
7. Replace the Locks
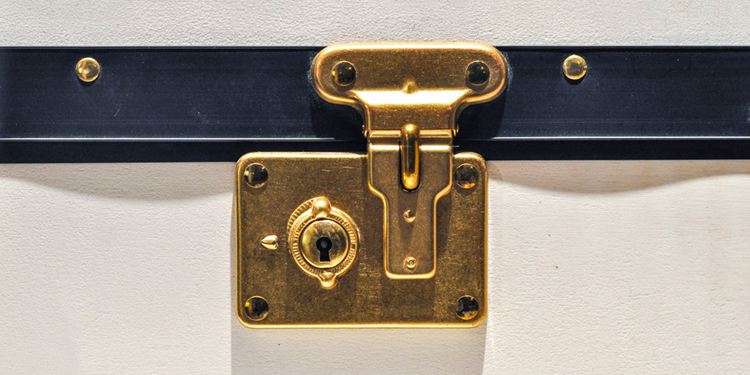
Another great tip to increase the longevity of your trunk is to switch out the locks. This works exceptionally well in those cases where your locks have become brittle. It also is a great way to change up the look of the antique without making it lose its value.
If you are changing your locks, your best bet would be to buy locks that look antique. These can be found at local flea markets or antique stores. If you do not have the convenience of having one of these around, you can always find some on amazon or eBay quite easily.
We suggest not changing the whole metal frame as it would ultimately make your antique lose its authenticity. It would be prone to be more of a modern-day trunk. Moreover, finding the exact frame size you need would be extremely hard, if not impossible. However, buff the outer layer and get it polished if your metal frame is fragile or rusted.
8. Add the Leather Work
Another way to make your antique look presentable again would be to switch up the leatherwork. You can replace it partially or entirely if it is damaged, or you can keep the original leather if it’s okay. Once you’ve decided on this, pin it back into place using tacks or screws. You can use the original ones if they’re alright or replace them too.
First, clean the leather with warm soap and water. Then wash it with a white vinegar solution. Next, use a leather lotion or a leather soap to restore moisture. If you are using the original leather, we suggest you use leather oil or baby milk to regain its shine and increase its longevity. Leather polishes are also a great idea to use.
Another thing you can do if you want to switch up the look of your trunk is to change the color of the leather. You can do this by painting it. Use leather paint because other paints will chip or flake off. Leather paints are mostly acrylic based. We suggest using a minimum of 3 and a maximum of 4 coats. Be sure to review the color with a polish once you’re done.
9. Aim to Restore So It Looks Like Original Form
If you do decide to restore your antique trunk, a great tip would be to restore it in such a way that it either looks like the original or resembles it. This way it doesn’t lose its value too much and shows off the era it’s from too. We suggest changing out hardware but try to keep the majority of it as original
10. Understand How Antique Restoration Will Affect the Value
Antiques are of great value and no doubt that when you alter or restore an antique, it will affect its value. If the value will increase or decrease after restoration depends entirely on your trunk, its make, size, brand, and whatever era or century it’s from.
In most cases, restoring a trunk increases its value as it becomes presentable and functional. We’d go as far as to say that nearly every trunk will add to its value once it has been restored. The only ones you should avoid in terms of restoration are the ones that belong in a museum. So, if you’re considering converting your trunk, you should, as the odds are probably in your favor.
Conclusion
Restoring antiques can be a confusing process. The restoration of an antique generally diminishes its value or authenticity, which is why you may be considering going against it. But worry not, as restoration of an antique trunk works the opposite and helps bring it back to life.
It may look rather complex and intricate but can easily be made simpler by following a few tips and tricks. There are a handful of ways to make the process easier or, in general, end up with a better-finished product. In this guide, we talked about 10 of these trips and tricks.
You should try to follow these to the dot when perform a restoration yourself. It’s critical not to mess things up since something as small as a minor scratch or tear can affect the price of an antique significantly.
You’ll also find that most of the tips and tricks that we’ve mentioned throughout this piece will be applicable to most antique objects – regardless of what they are
That brings us to the end of this guide. Thank you for reading.